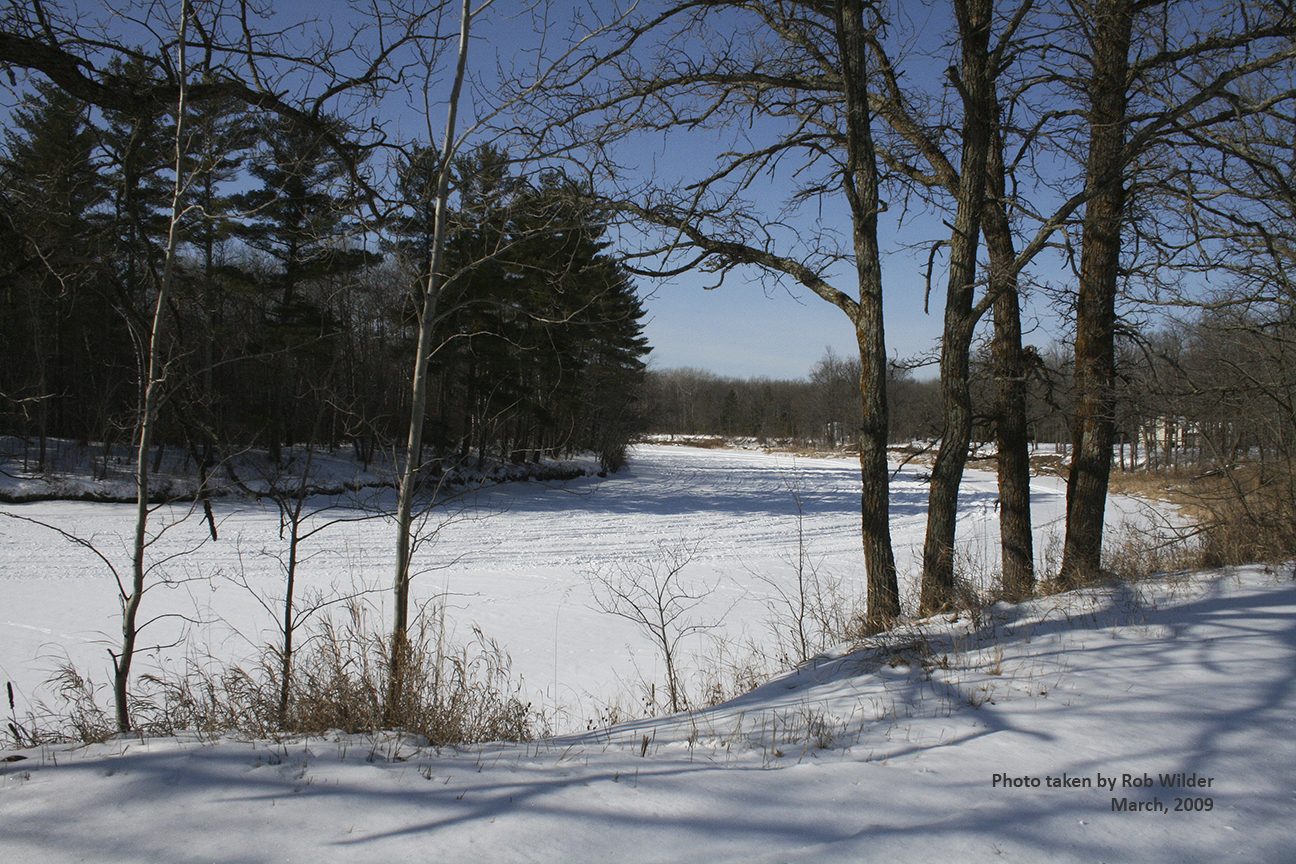
I looked forward to a trip up north this past weekend. For me, each trip north is a mini-quest spent in anticipation of slipping through the pine belt into the north woods. This is where Mother Nature’s approach to landscape composition jumps to the big canvas. Even though the vistas are longer range, their depth pulls me into a small framed view. The woods transform within their cycle of life. Old lakes become marsh which gives birth to seedlings that put down roots and attract fowl and animals who adapt the environment to their needs. Each subtraction and addition makes for change.
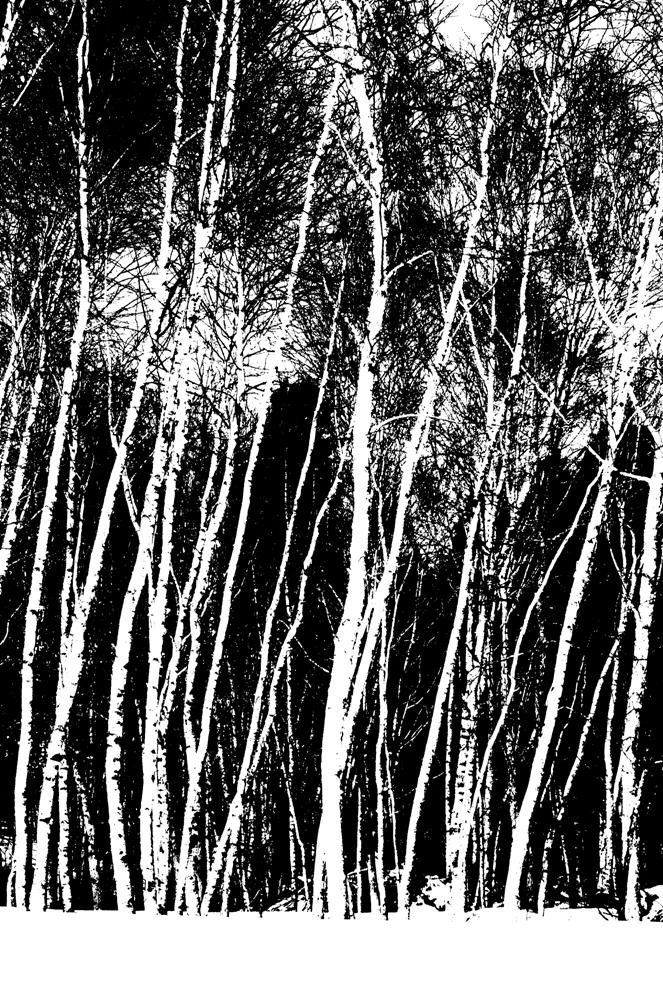
The lakes area in central Minnesota is picturesque any time of the year, so when I get to see a combination of my favorite things like snow, bare tree branches, and crisp white birch trunks against a blue sky, I’m living fully in the present. I’ve travelled the road so many times in all seasons that I notice growth, filling in, water depth and in some cases the current state of disrepair of the man-made structures. In nature, decay is expected and necessary. With our constructed things, keeping the place up improves everyone’s mood. So said.
From our place in the cities to our place at the lake, we cross thirteen rivers and creeks. One summer we made the list. The first is the Crow River (bordering Hennepin and Wright counties) and the last is the Pine River at the dam in Crosslake. We cross the Mississippi twice. The big version on the south side of Elk River and the much smaller, looping through the woods version in Crow Wing county.
On my trip Sunday, I took a spur down a local road heading east. Three miles til the turn-off and down Partridge Ave and the gallery will be “on your left.” With some of the travel mystery removed, my GPS unerringly guided me to my destination and to my hard cover book making class.
The Ripple River Gallery, co-owned by Amy Sharpe and Bob Carls, sits snuggled into a small knoll across the road from a lake. The gallery is inside a renovated (former) garage and opened in 2000 so they could cut back on the miles traveled between art fairs and home. Amy is both a ‘weaver of words and fiber’ and Bob, who is a full time studio artist, creates wood turned vessels. Bob has participated in many juried exhibits, received corporate placements and sells his work worldwide.
The Gallery shop features a wide selection of regional artists’ work including oil, pastels, book and paper arts, fiber, jewelry, pottery, wearables, baskets and much more. Inside, the gallery is filled with natural light and sits across a brick paved courtyard from their home. Amy says Bob is the master gardener in residence. The classroom is spacious, well lit and inviting.
Arrival
When I arrived my four classmates were already there. For those who know me, I always run a little late, so I make a practice of a friendly, but low key greeting. Shedding my coat, I slipped into the empty chair. The class was titled, “Hard Cover Journal and Journaling Workshop.” We had two workshop leaders. Elizabeth Carls who specializes in book and paper arts guided us through crafting a small hard cover journal and Amy Sharpe shared a wide assortment of journaling styles gleaned from her own experience. The workshop began at 11 a.m. and ran until 4 p.m. We took two stretch breaks and between the five students and instructors we ‘hoovered’ an entire batch of homemade oatmeal raisin cookies. Yes, the plate was filled twice!
Hard Cover Book Workshop
Elizabeth had prepared materials for each of us, just what we needed, so there wasn’t time sidelined (with ‘choices’ because the instructor didn’t finish the prep work ahead of the class). When I arrived I noticed a digital clock among her things at her end of the table. As a student I was completely unaware of the time. I checked my watch once when we stitched the binding and was grateful that we’d been guided so skillfully allowing us to focus on learning each technique. And, I was happy we would have plenty of time to talk journaling, because after all, as a fledgling writer, I am most curious how and where other writers develop their voice.
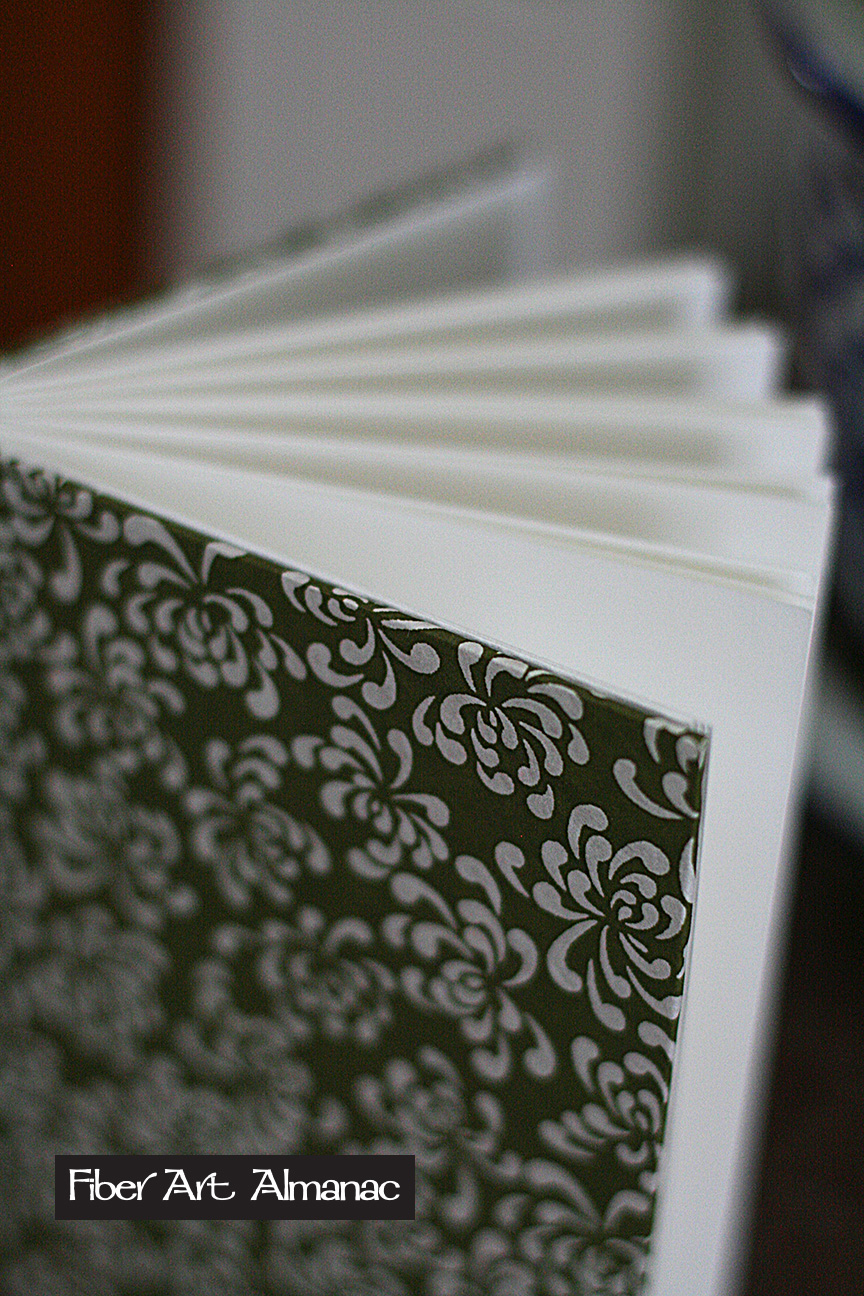
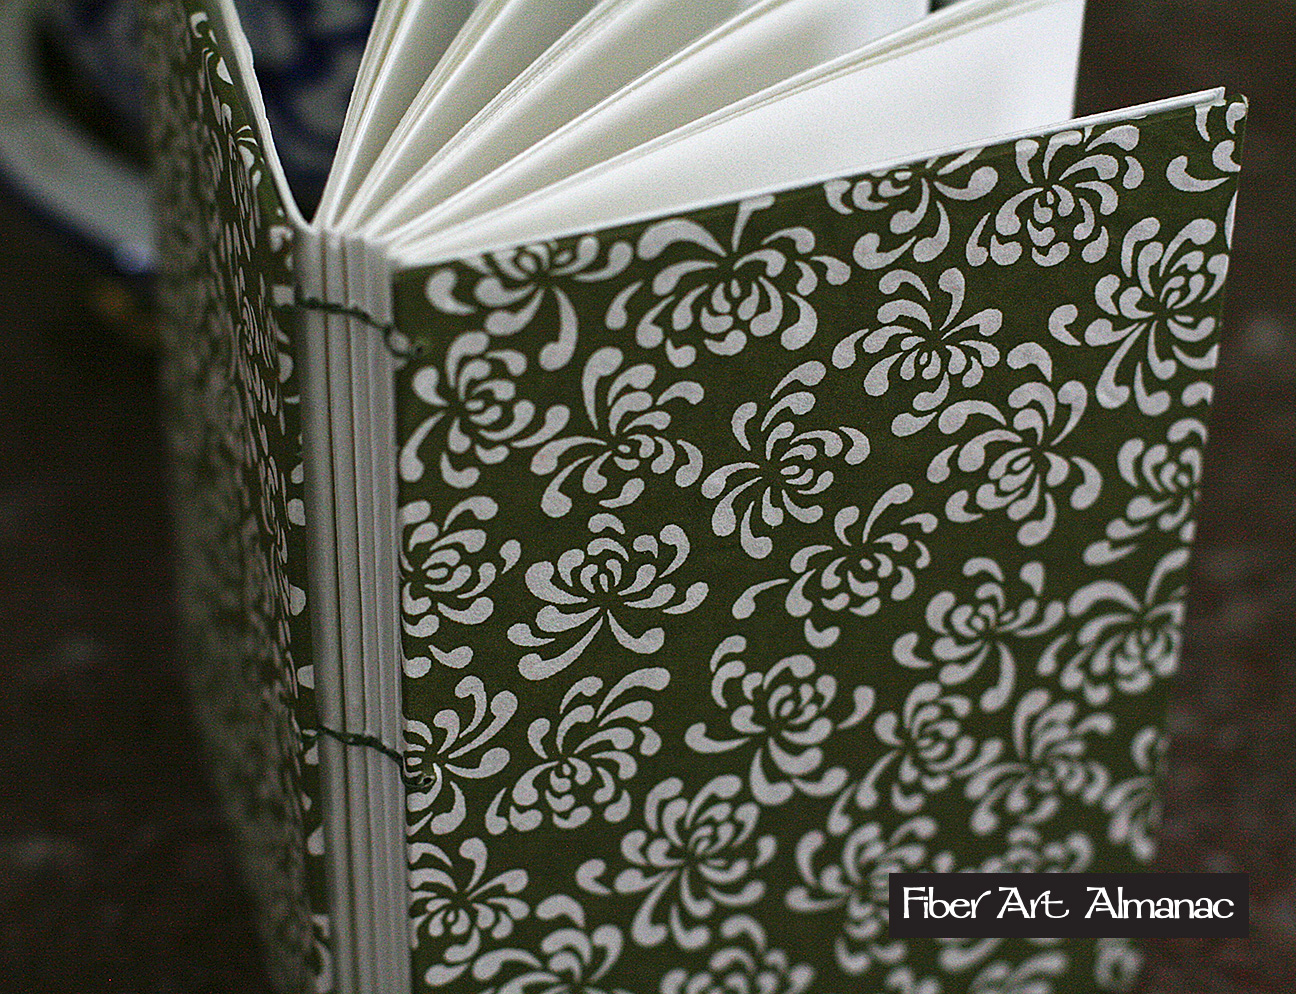
We started at the beginning with the words that describe the parts of a book. Elizabeth gave us a couple of hand-outs that included a glossary, notes about important characteristics of paper and grain as well as other key book arts topics. Determining grain in the paper is the critical step in making a well made book. All of the parts of the book should go in the same direction so it lays flat and the folded edges aren’t flaky and raw. The board cover, inside cover paper and book block (actual pages of the book) all must flow in the same direction. If you take a sheet of paper and begin to fold it first lengthwise then bend it width-wise, you will feel more resistance in one of the directions. Take the easy way out on this! Go with the grain!
We began with a stack of pre-cut paper and divided the stack into six groups of four papers each. These groups of papers are called signatures and together they make up the book block. After they were folded, we stacked them alternating folded edge and open edge then put books and heavy objects on top of them. This process of compression ideally takes about 24 hours, but we let them flatten while we constructed the book covers.
Elizabeth discussed adhesives and application methods while we painted the goo onto our book boards; getting them ready for the decorative cover paper. Once the cover papers were selected and bubbles smoothed using a bone fold, we got to work on the mitered edges.
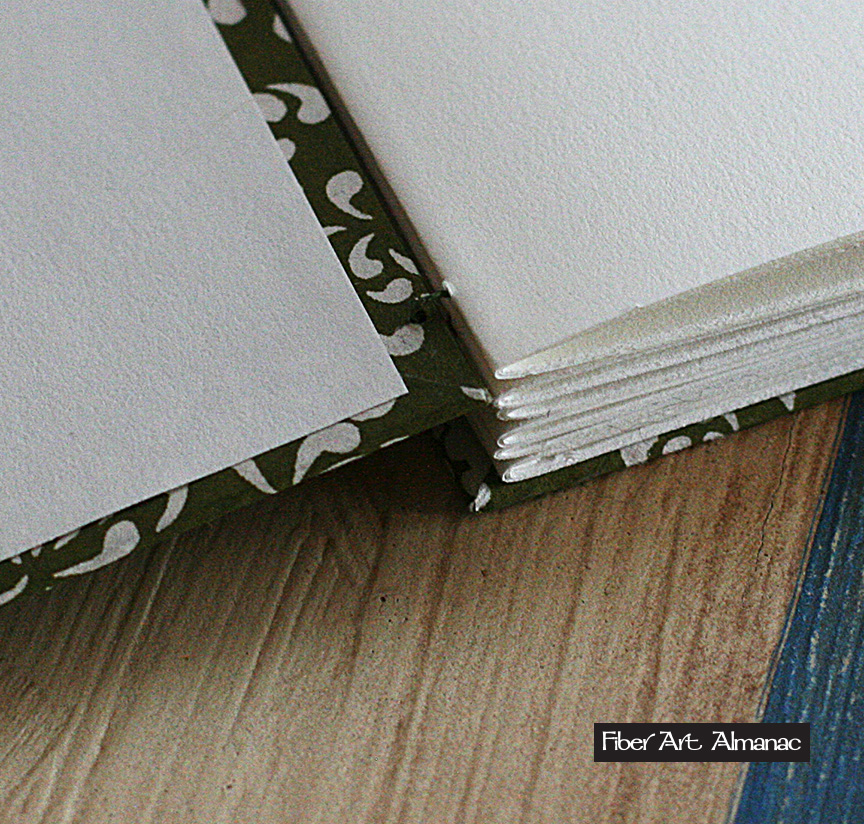
O, for the clean mitered edge! As a knitter, using yarn as my medium, edges will never look as crisp as with paper, but once blocked a clean square edge on the collars, button bands and sides of a scarf makes them look well made. So I was especially interested in this technique. First take a straight edge and cut out the corners. Then use a piece of board block the same depth as the cover of the book and position it on its edge at the tip of the corner on a slight outward angle. Trim the triangles off the cover paper corners that stick out beyond the miter tool. This outward angle of the miter tool allows for the tip of the corner to be covered. Brush adhesive on the paper edge and wrap over the edge of the book board taking care not to use the bone fold with such pressure that the cover paper might rip. Gently fold the triangulated edges over the corners. Voila! Then add the inside cover page and you have one smart looking cover!
Our next tool we made was a jig. This was made from cereal box cardboard and its function is to provide consistent measurement of the distance between the holes we punched through the covers and signatures. We retrieved the signatures from underneath their books. Opened gently; we used an awl to punch a tiny hole through all of the pages. Elizabeth noted in her conversation, “keep the signature pages together otherwise you’ll never able to match up the holes again.” True.

Assembly was the final part of making our books. Stacking the back cover on the table and signatures with folded side toward us we got ready to stitch our book sandwich together. We used a circular needle (quilting needle) and waxed linen thread. Holding the front cover and first signature together requires patience as it feels cumbersome at first. Most will agree stitching is an art in itself but once the process became familiar it went very smoothly. I made several mistakes by not making a chain stitch on one end of my book, but it stays together well.
Journaling
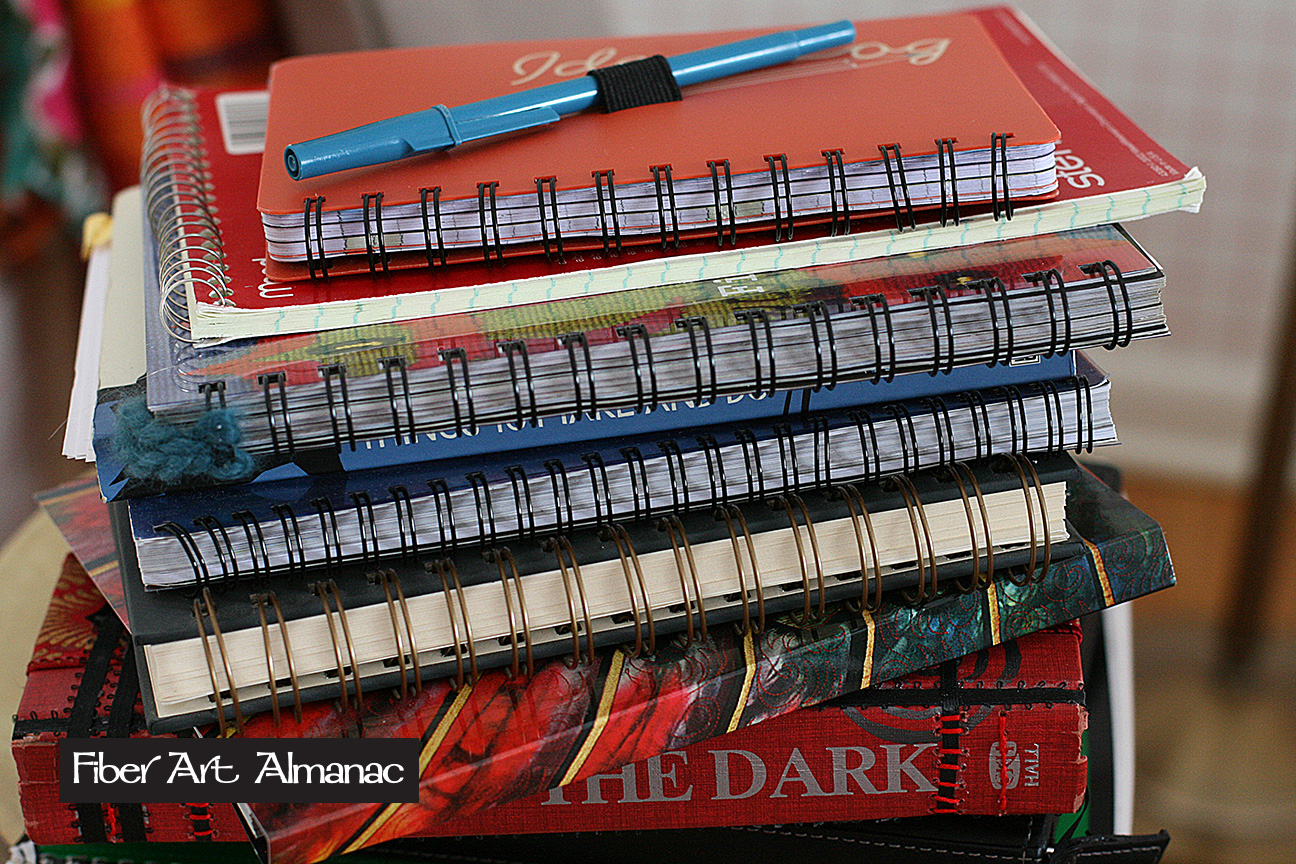
Amy is a writer, among many other roles. She’s been a newspaper editor and for 18 years wrote a newsletter that went out to her community (both virtual and geographic). When she sat down at the table, she opened a box that contained a smorgasbord of book styles, topics and written word/pictorial combinations of which all are her journals. The wide assortment of types really opened my thoughts. I realized I thought of journaling as a linear process. Start with this book, fill it up, move on to the next. Nice and tidy, not a little here and a little there with unfinished edges and endings. Maybe I worry that I won’t be able to locate notes or thoughts. Or, I just like closure. Amy had a small hand crafted book just for quotes she likes. Another ‘book’ contained handmade postcards, she sent back to herself while travelling. Some were down and dirty spiral bound ruled notebooks and one was leather bound embossed with the word, “Journal.”
Sometimes I don’t want to write. Sometimes I want to hang on to objects they evoke enough memories without further explanation. Lately, I have seen art journals and am enthralled with the layers of bold colors and tactile embellishments. They contain such visual power! But I still think they need words for context and balance.
Journals are a tool for remembering, pushing through parts of life or a simple documentation of what steps you took. They can be hard to read when opened after many years, emotion rolling off the page. But mostly journals are caretakers of the parts of our lives we think most important to put into words, put on paper or create a specific piece of art for remembrance. I’m convinced each time we dig around in the section of our brain that contains memories, they change just a little. They have to; our current thinking is in a different context each time we review that past experience. A journal keeps the content in its frame providing context and balance. A good way to remember your life!
For more info regarding upcoming classes and events Ripple River Gallery, click here: www.ripplerivergallery.com. For goings on in Elizabeth Carls’ life click here: www.elizabethcarls.com